

Tutorial

What You’ll Need
Main Items


SketchBot(s)
SketchBot Software

Base + Platform
(included with software purchase)

Additional Items
Photo Capture Device
(iPad, Photobooth, DSLR camera, etc.)

Laptop + USB Hub
Specs: 16GB ram,
4 cores (8 threads)


Paper + Pens
See recommendations here
Power
(for Router, Laptop & Bots)

Router or Local Network
Assembly + Setup

1
Assemble the Base
Connect the two hexagonal pieces

2
Position SketchBot & Platform
Each should fit comfortably into their respective holders
Note: If using the nano tape platform, never apply glossy side of paper to nano tape

3
Power on the SketchBots
Then connect them to the laptop

4
Follow the Setup Instructions
Via the Setup Guide or Training Video
Check out the full Setup Guide for step-by-step instructions and more information.
How it Works
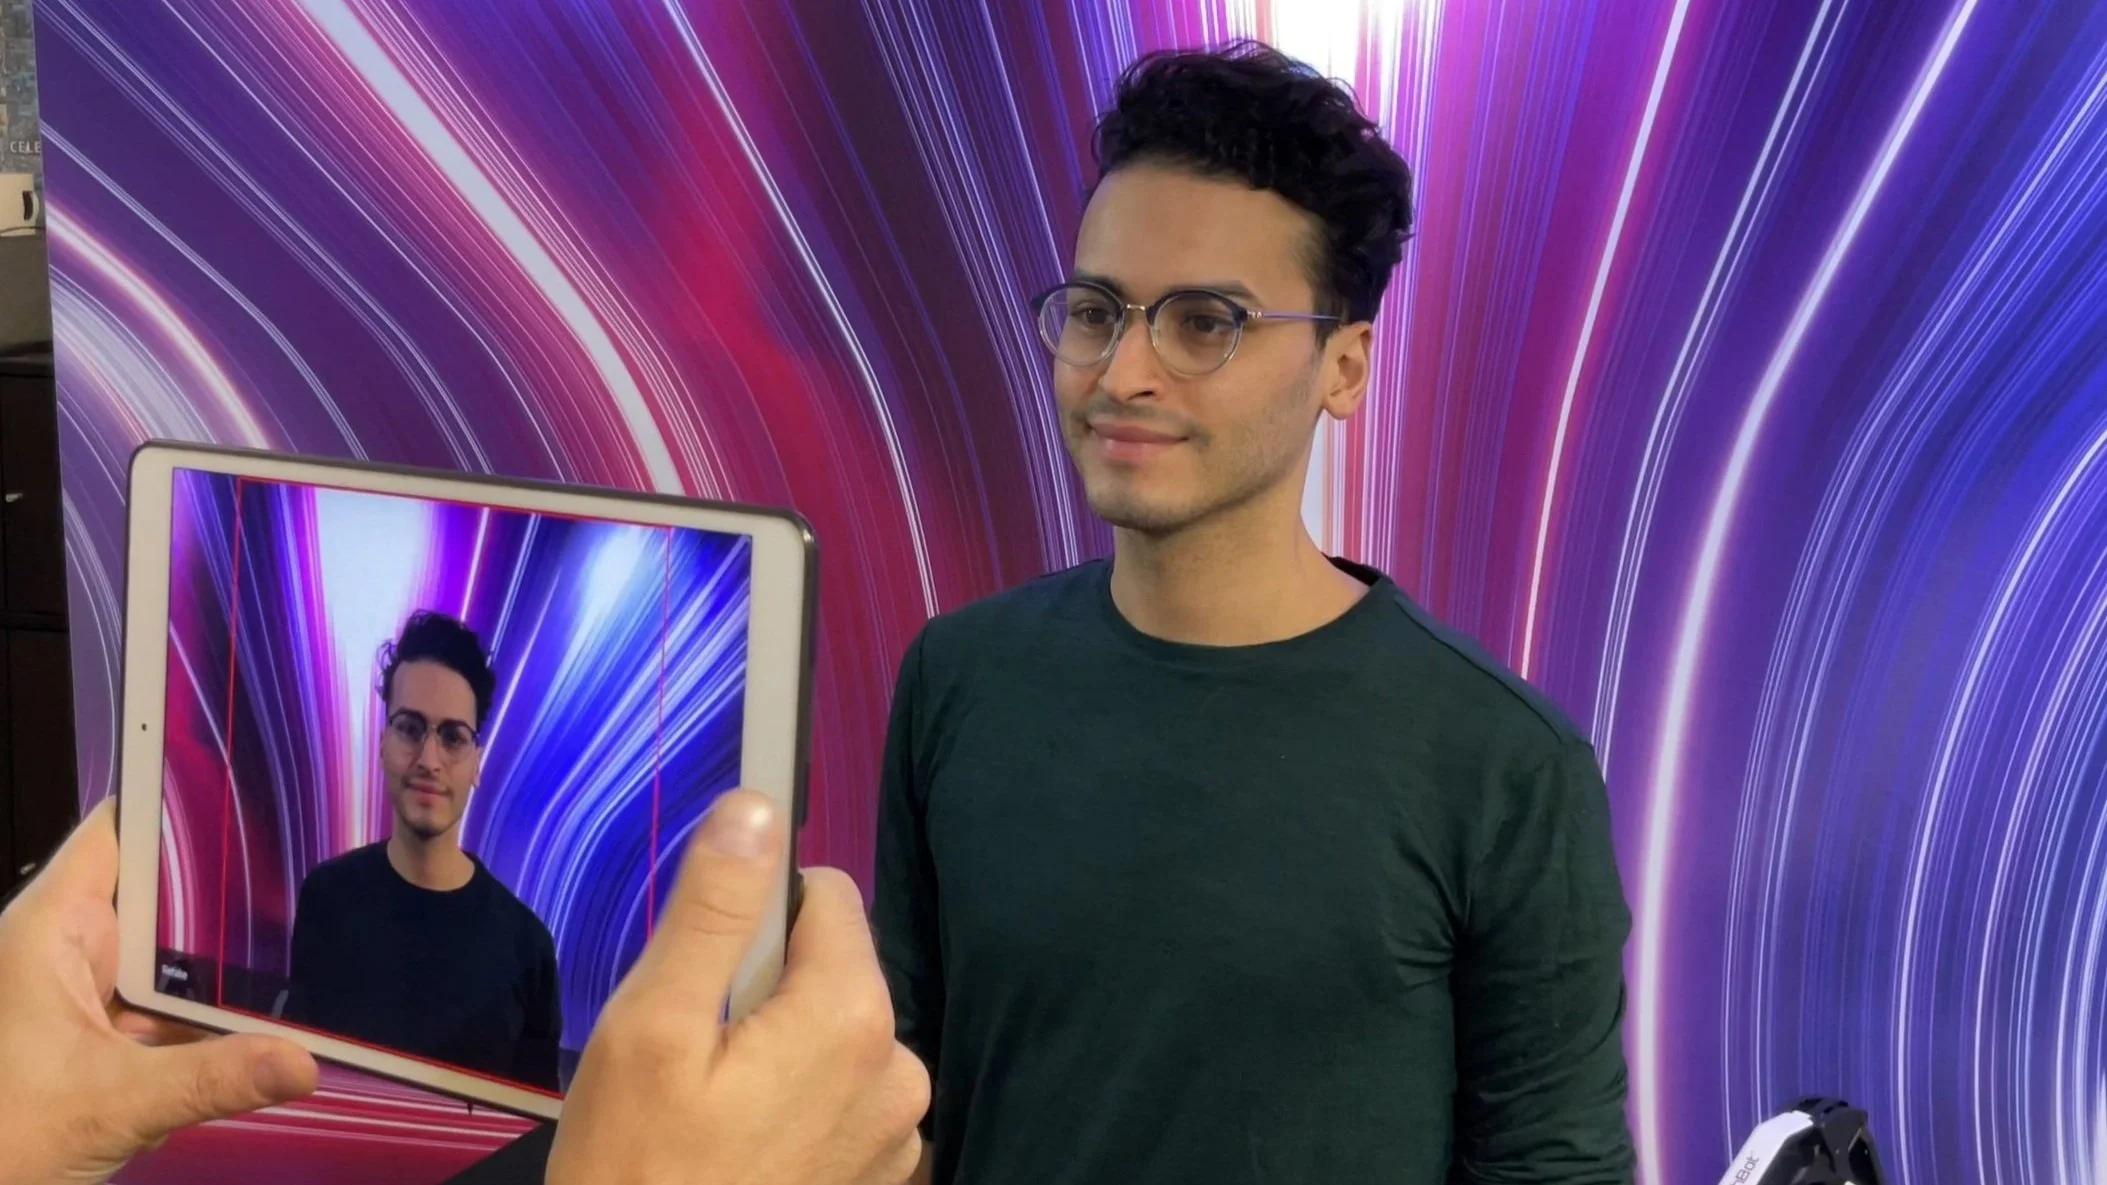
1
Capture
Follow the photo taking tips below for best results
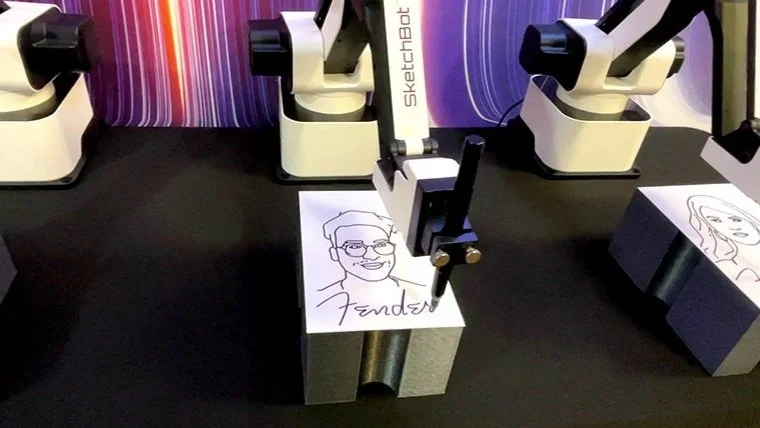
2
Draw
30 ~ 50 Seconds

3
Admire!
Photo Capture Options

MosaiCapture App for iOS
Use our iPad app to take photos in any environment
No green screen necessary
Included with SketchBot software
Note: iOS 15 or greater required


Use Your Own System
The SketchBot software includes a ‘hot folder’ that can connect directly to your photo capture system
Perfect for existing photobooths or DSLR cameras
Note: Photos will need to be cropped to square prior to adding them to the hot folder
For better results, have guests turn slightly.
Pro Tip


Straight-On


Slightly Turned
Photo Taking Tips
(if Smart Auto-crop is disabled)
Smart Auto-Crop is built into the SketchBot software, and is enabled by default. If you disable it (not recommended), you will need to follow these guidelines closely.

DO
IMPORTANT: Photos will need to be taken uncomfortably CLOSE
No more than the very tops of the shoulders should be in the picture
If you are unable to get up close to the guest, you can pinch and zoom into the photo to get the correct crop.
If the lighting in the room is dim, use the flash for better results
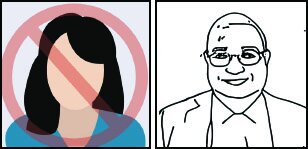
DO NOT
DO NOT take photos at a distance
DO NOT take a photo with more than one person. The system was trained to only draw one face and this is the only way to get the most facial details
Avoid taking photos with props
Only works with humans, not animals
Recommendations + Requirements
Pen & Media Recommendations
Pens: We recommend 1.0mm tip markers, ideally not to exceed 1.5mm, but ultimately it’s up to your preference. Felt tip markers work best, but you’ll want to ensure that the marker and paper combination is fast drying. The 1.0mm STAEDTLER Lumocolor Universal Pen is a good option to start with.
Paper: Most 4in x 6in media (matte or glossy) will work great outside of some DNP paper/marker combinations (if using DNP paper, be sure to test your DNP paper with your markers). Moreover, testing your pen and paper combination for compatibility and drying time before your event is recommended. Postcards from Vistaprint (glossy front, standard thickness) or this Canon photo paper are great options.
Additional or replacement nano tape can be easily purchased through Amazon here.
Minimum System Requirements
Processor: Core i5-10210U, AMD Ryzen 3 3500U, or 4 Core with 8 Thread equivalent
Memory: 16 GB RAM
Hard Drive: Solid State Drive (256GB)
OS: Windows 10/11 64-bit
SketchBot Nano Tape Platform Maintenance & Upkeep
IMPORTANT: The gloss or semi-gloss side of your paper should never be applied to the nano tape. This will ruin the nano tape and it will need to be removed and replaced.
If the nano tape ever becomes dirty or loses its adhesive qualities, you can first try washing it with some mild soap and water, then pat dry with a clean, lint-free towel. This typically works well and can restore the nano tape’s adhesive qualities. If not, new or additional nano tape can be purchased through Amazon here.